1. Turn Off Water Valves Under the Kitchen Sink
Before opening any metal parts on top of your sink, you must turn off the main water flow coming into your tap lines.
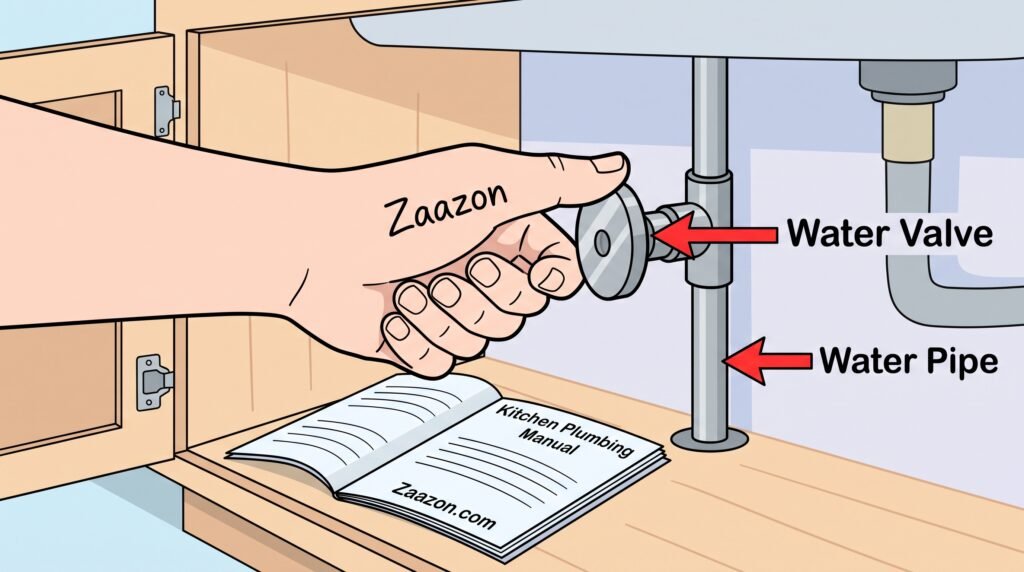
Open the wooden cabinet doors beneath your kitchen sink. Look inside for two metal valves attached to the water pipes coming out of the wall. Turn both valve handles clockwise (to the right) until they stop turning completely. Turning off these valves stops water pressure so water will not shoot up into your face when you unscrew the main tap handle.
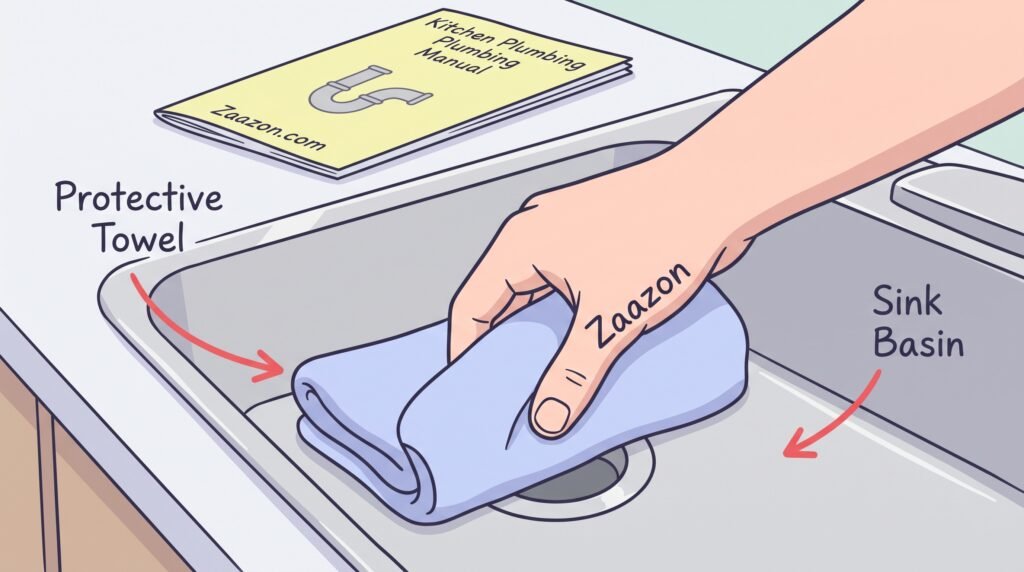
2. Cover the Sink Drain Hole with a Soft Towel
When you work on small metal tap parts, tiny screws and rubber rings can slip out of your wet fingers and fall down into the deep drain pipe.
Take a clean dry towel or a flat rubber sink stopper and cover the open drain hole completely. Laying a towel over the stainless steel basin also protects your shiny sink from getting scratched if your heavy metal wrench falls out of your hand during the repair. It keeps all your small parts safe right where you can see them on the flat counter.
3. Open the Tap Handle to Drain Leftover Water
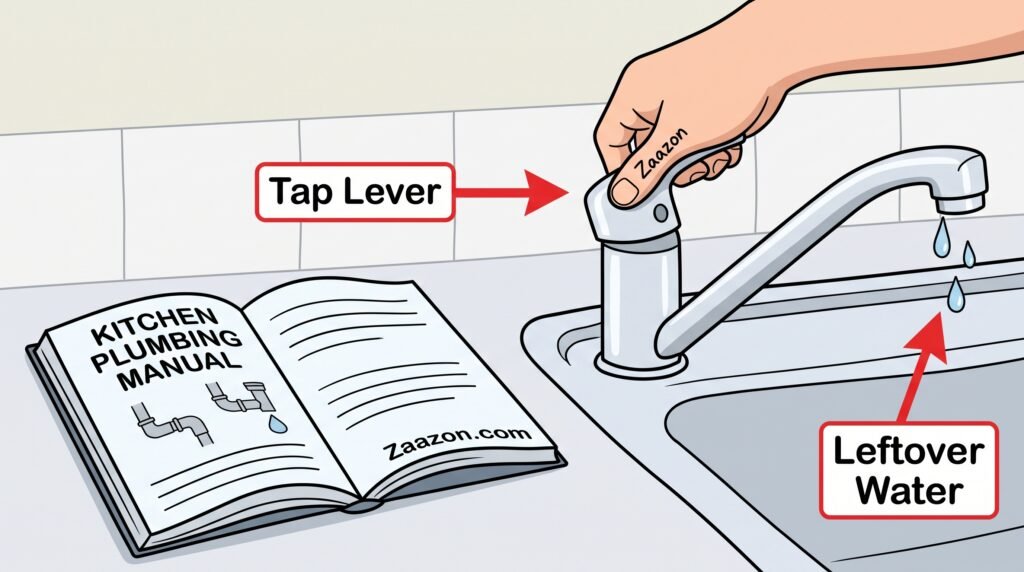
Even after turning off the bottom water valves, a small amount of trapped water stays inside the top neck of your faucet pipe.
Lift or turn your kitchen tap handle open just as if you were washing your hands. Let the remaining water flow out into the sink until the stream stops completely and the tap becomes silent. Leaving the tap handle open relieves any built-up air pressure inside the inner chamber, making it much easier and safer to unscrew the inner metal parts without water splashing.
4. Remove the Decorative Cover Cap on the Tap Handle
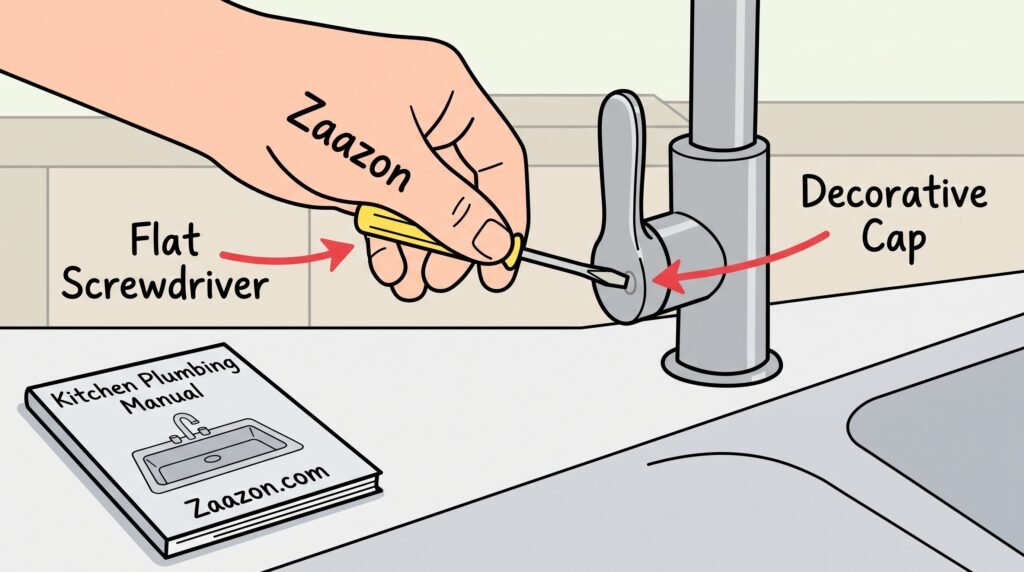
Most modern kitchen tap handles hide their main securing screw underneath a tiny plastic cover button or red and blue temperature marker.
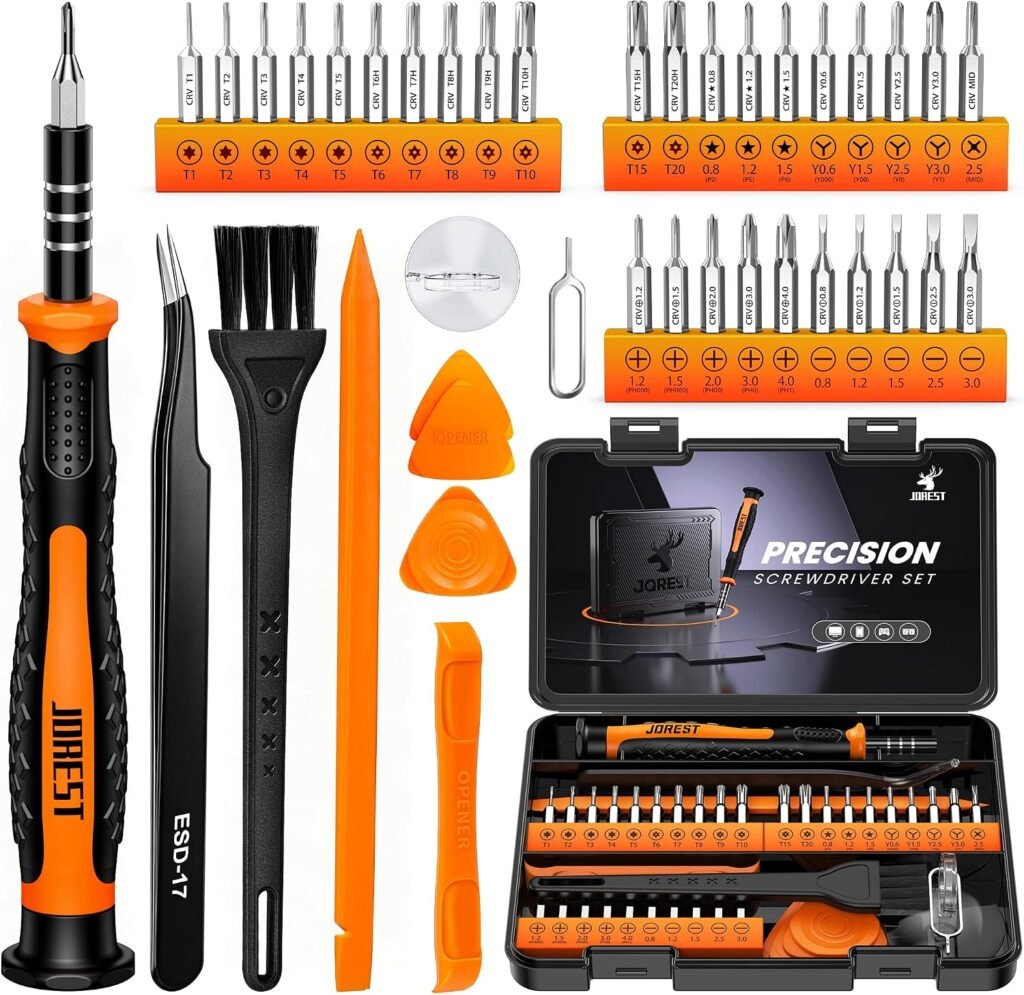
Take a small flathead precision screwdriver or a thin plastic card edge. Gently pry up the edge of the small cover button sitting on the side or top of the handle lever. Pop the cap off carefully and set it aside inside a small cup so it does not get lost. This reveals the hidden screw holding the main handle to the internal stem.
5. Unscrew the Handle Screw Counter-Clockwise
With the small decorative cover button removed, you can now see the metal screw that binds the outer handle lever to the inner cartridge stem.
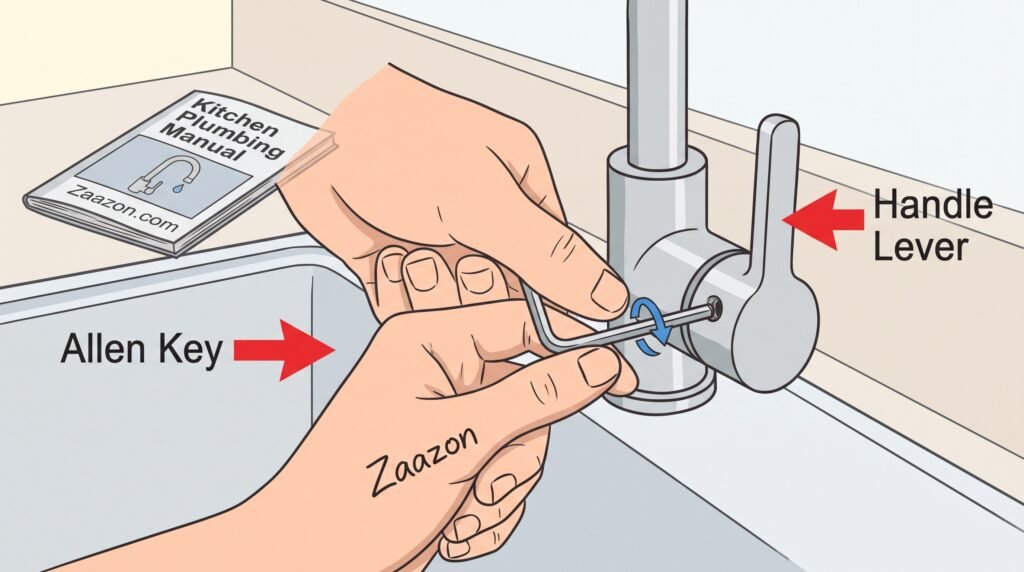
Insert your Allen key or small screwdriver directly into the exposed handle hole. Turn the screw counter-clockwise (to the left) until it comes completely loose. Once the screw is out, pull the metal handle lever straight upward off the tap body. If the handle feels stuck from dried mineral scale, wiggle it gently side to side while pulling upward to free it.
6. Remove the Smooth Metal Dome Collar
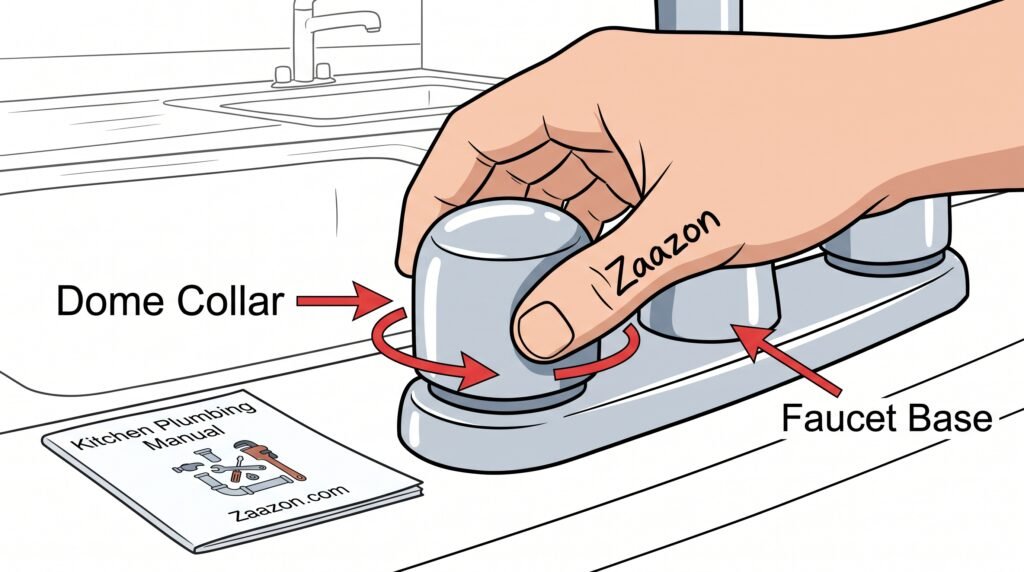
Underneath the main handle lever, you will see a round smooth metal dome cover that protects the inner valve cartridge from water splashes.
Grasp the smooth metal dome collar firmly with your bare fingers. Turn it counter-clockwise to unscrew it from the base. If the dome feels slippery or stuck due to hard water crust, wrap a thin rubber cloth around it for better hand grip. Never use heavy sharp pliers directly on this smooth metal dome, or you will scratch the shiny chrome surface.
7. Unscrew the Retaining Brass Locking Nut
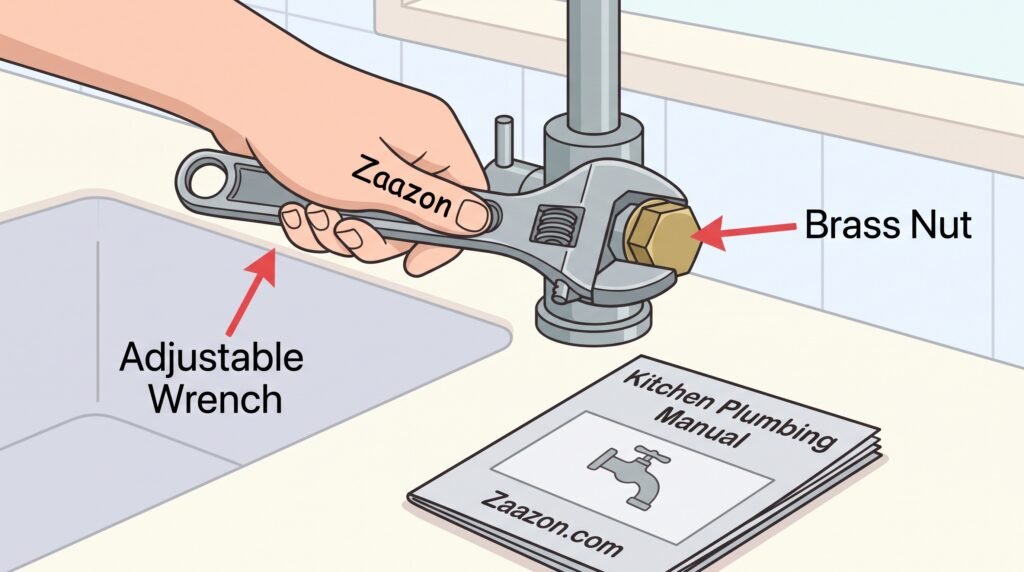
Beneath the dome collar sits a wide brass locking nut that holds the inner plastic or ceramic cartridge tightly inside the tap chamber.
Take an adjustable wrench and open its metal jaws until they fit snugly against the flat sides of the brass nut. Turn the wrench counter-clockwise to loosen the nut. Once the nut breaks free from its tight seal, finish unscrewing it with your fingers and lift it off the tap body. Set the brass nut on your dry towel on the counter.
8. Pull Out the Inner Faucet Valve Cartridge
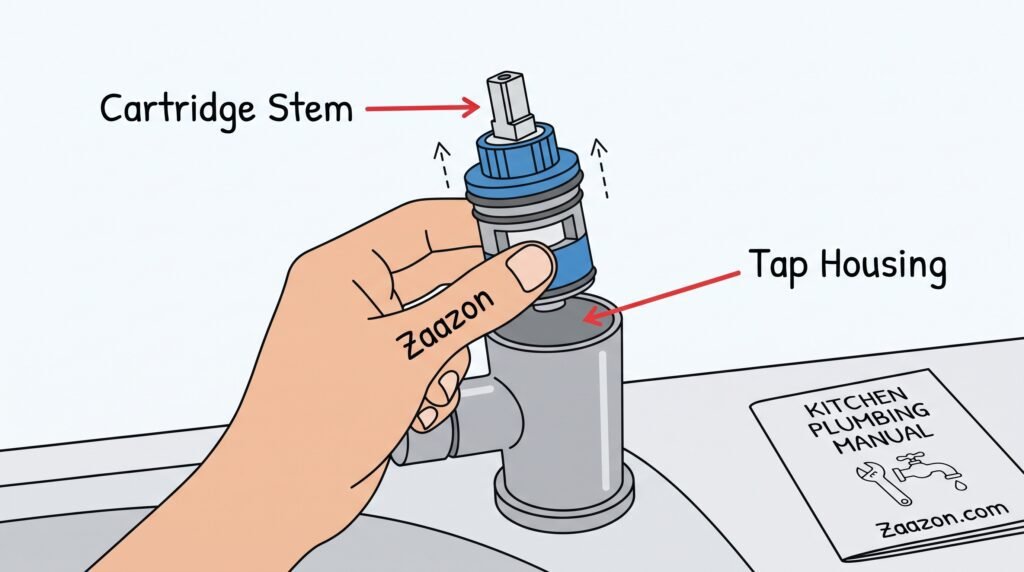
The inner cartridge is the main heart of your tap that opens and closes water flow whenever you turn your handle.
Grasp the top plastic stem of the inner cartridge using your thumb and fingers. Pull the cartridge straight upward out of the hollow tap housing. If it feels stuck inside from old mineral deposits, rock the stem gently forward and backward while pulling upward. Inspect the plastic body of the cartridge for cracks, chipped edges, or broken ceramic discs inside.
9. Inspect Small Rubber O-Rings and Springs Inside
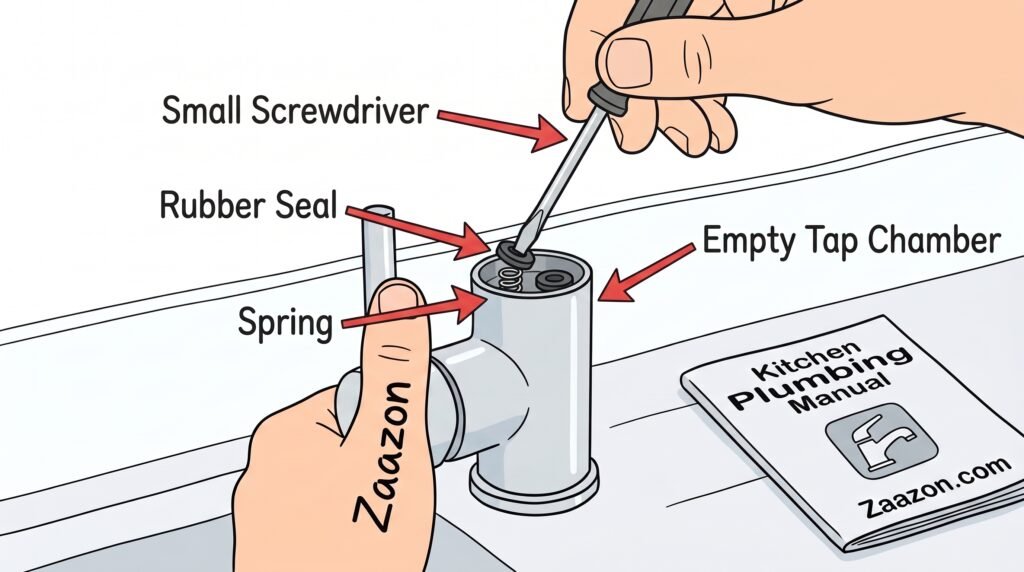
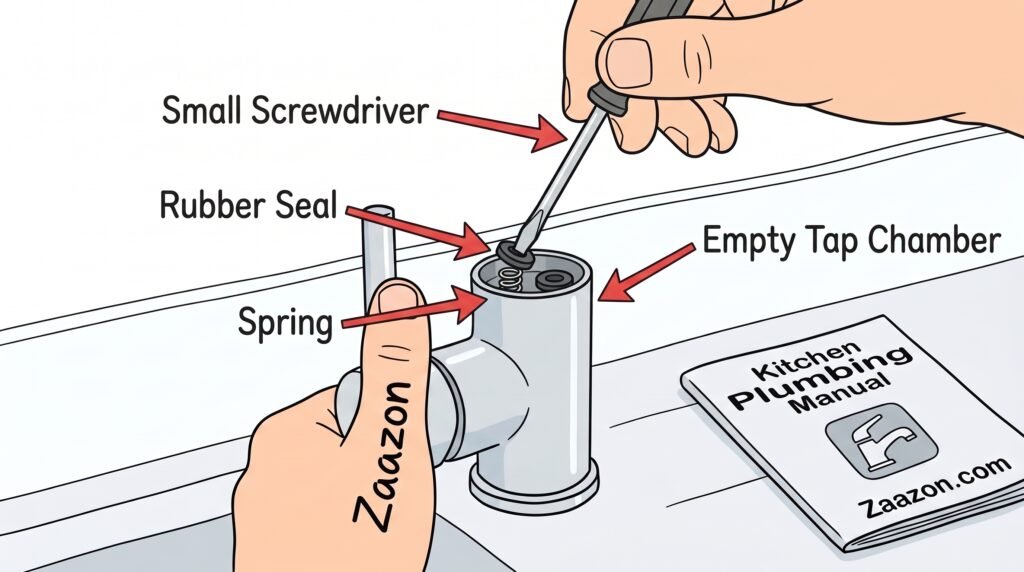
Look down inside the bottom of the empty metal tap chamber. You will see small round rubber seals and tiny metal springs sitting in the bottom holes.
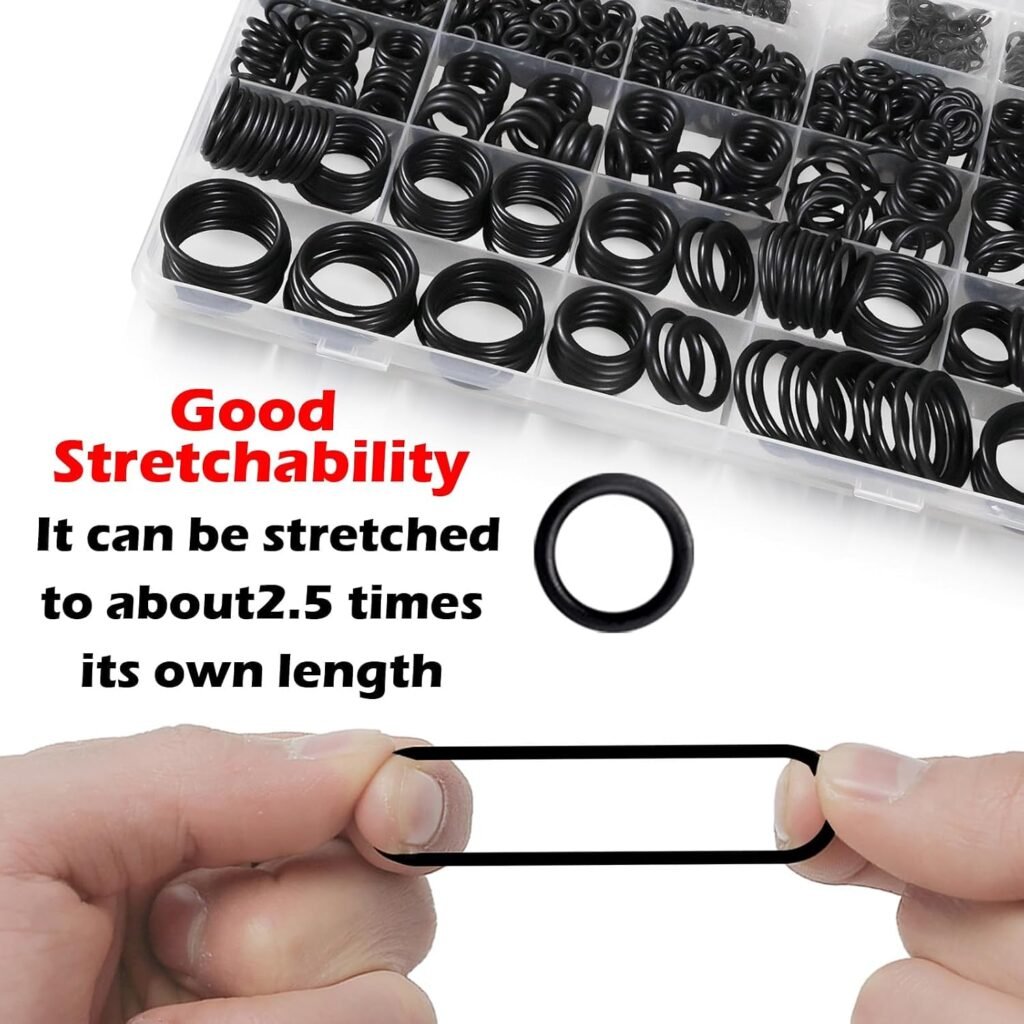
Old flattened rubber rings are the primary reason why taps start dripping water out of the spout. Take a small screwdriver or pen tip and lift out the old black rubber seals and little springs from the chamber bottom. Check if the rubber rings look stretched, cracked, or crushed thin from years of daily water pressure.
10. Clean Hard Mineral Crust Out of the Inner Base
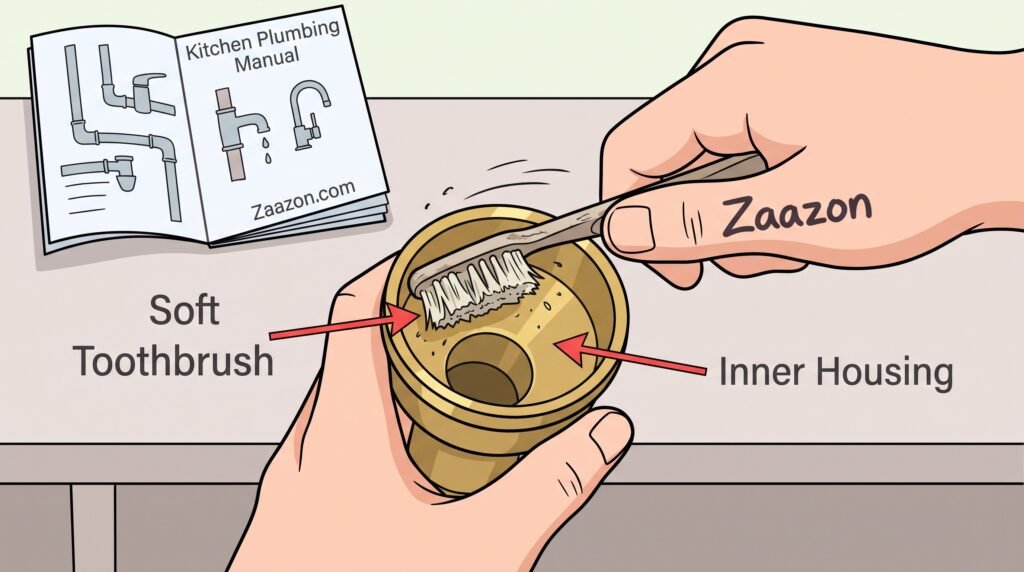
Over months of daily use, hard mineral deposits from tap water build up inside the inner chamber, preventing new rubber rings from sealing flat.
Take an old soft toothbrush dipped in plain white vinegar. Scrub the inner metal walls and bottom holes of the empty tap housing gently. Wipe away lifted white mineral scale and rust crumbs using a soft microfiber cloth. Cleaning the inner chamber ensures that your new replacement parts sit completely smooth and flat inside the metal walls.
11. Put Fresh Rubber O-Rings and Springs Inside
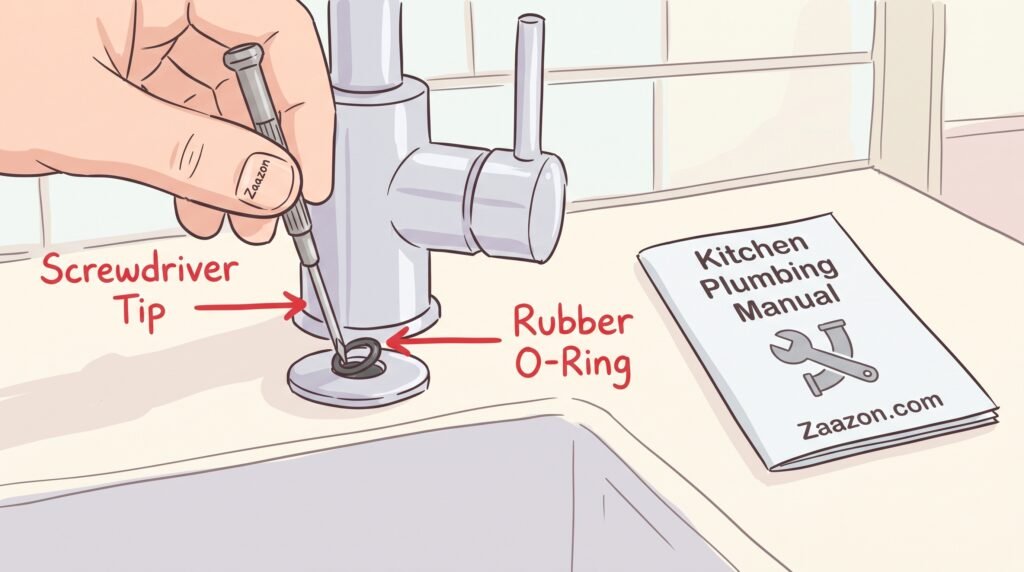
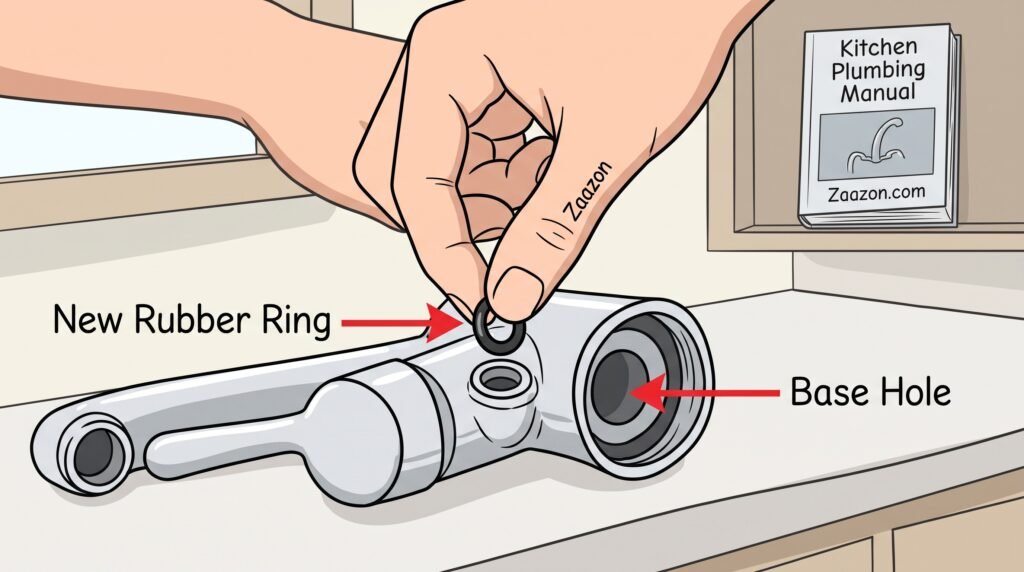
Take your new rubber ring assortment kit and pick out new black rubber rings that match the exact size and shape of your old worn ones.
Place tiny metal springs into the bottom housing holes first, small end facing up. Slide new soft rubber caps down over the tops of the springs. Press them down gently with your finger tip so they sit square inside the holes. Fresh soft rubber creates an airtight water seal that stops drips immediately.
12. Coat the Cartridge with Clear Silicone Plumber Grease
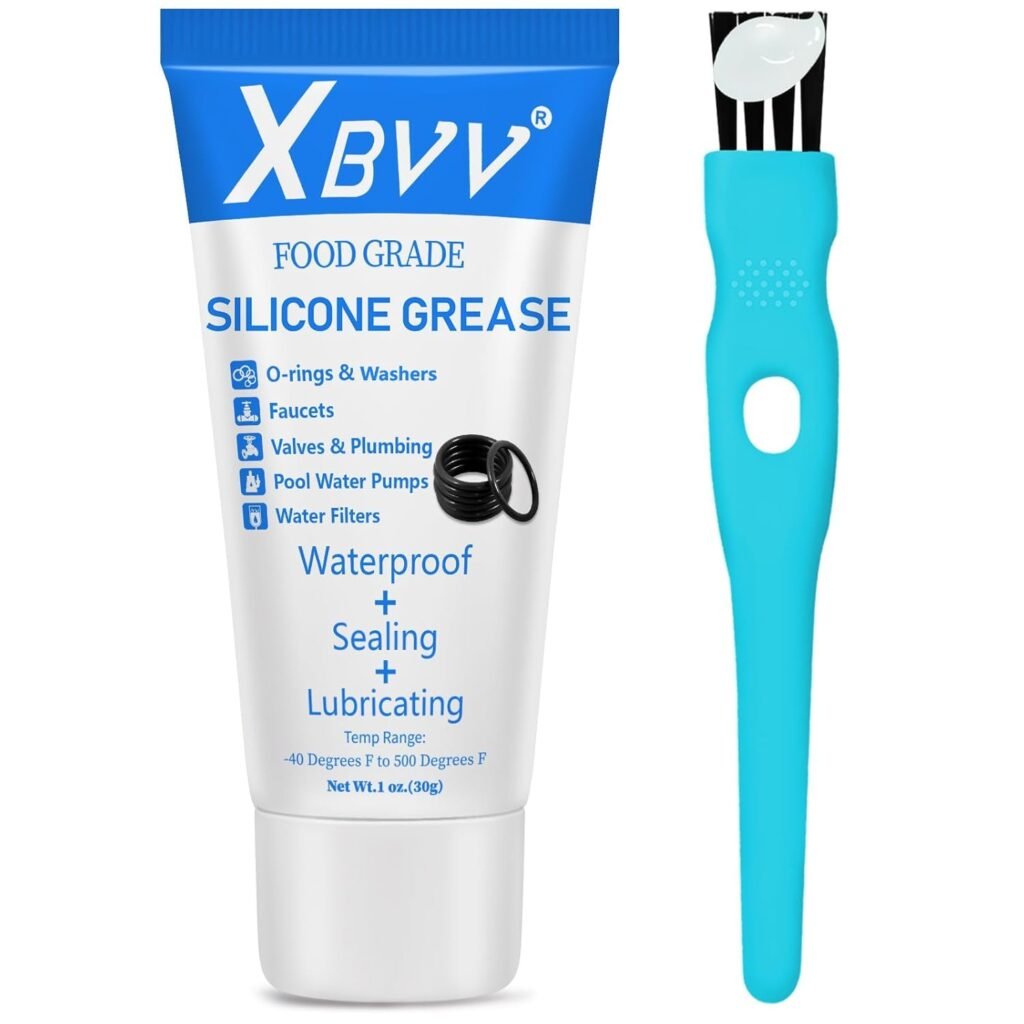
Applying a thin coat of clear silicone plumber grease makes your tap handle turn smoothly and protects rubber rings from drying out.
Dab a small drop of clear waterproof plumber grease on your finger tip. Spread the grease over the black rubber O-rings around the bottom and sides of the new replacement cartridge. Do not use petroleum jelly, as real petroleum eats away soft rubber. Clear silicone grease keeps rubber rings soft and flexible for many years.
13. Slide New Cartridge Back into the Tap Chamber
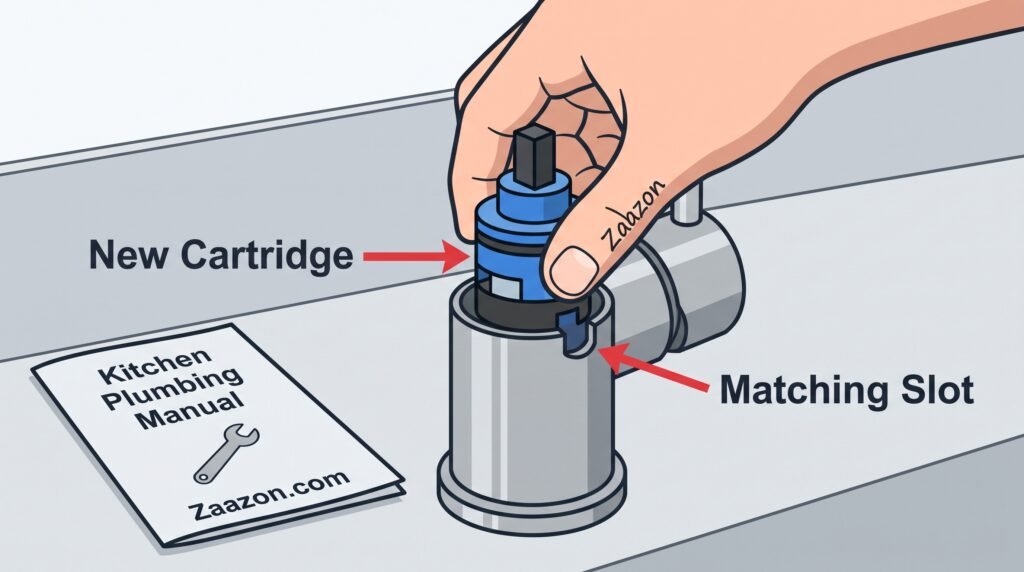
Align the small plastic locking tabs on the bottom of the new cartridge with the matching notch grooves inside the metal tap chamber.
Slide the new cartridge straight down into the tap housing. Press down firmly with your palm until you feel the cartridge settle flat against the bottom rubber rings. If the cartridge does not sit completely flat, lift it out and rotate it until the bottom plastic pegs align perfectly with the metal housing slots below.
14. Reassemble Brass Nut, Dome Collar, and Handle
Now that your new cartridge sits safely inside, you can put all the outer metal parts back together in reverse order.
Screw the brass locking nut back over the cartridge and tighten it with your wrench until snug. Thread the smooth metal dome collar back on with your fingers. Slide the handle lever onto the top cartridge stem, tighten its inner screw clockwise with your screwdriver, and snap the decorative cover cap back into place.
15. Turn Water Valves On and Test for Leaks
With all parts tightly reassembled, you are ready to turn your home water flow back on and test your repair work.
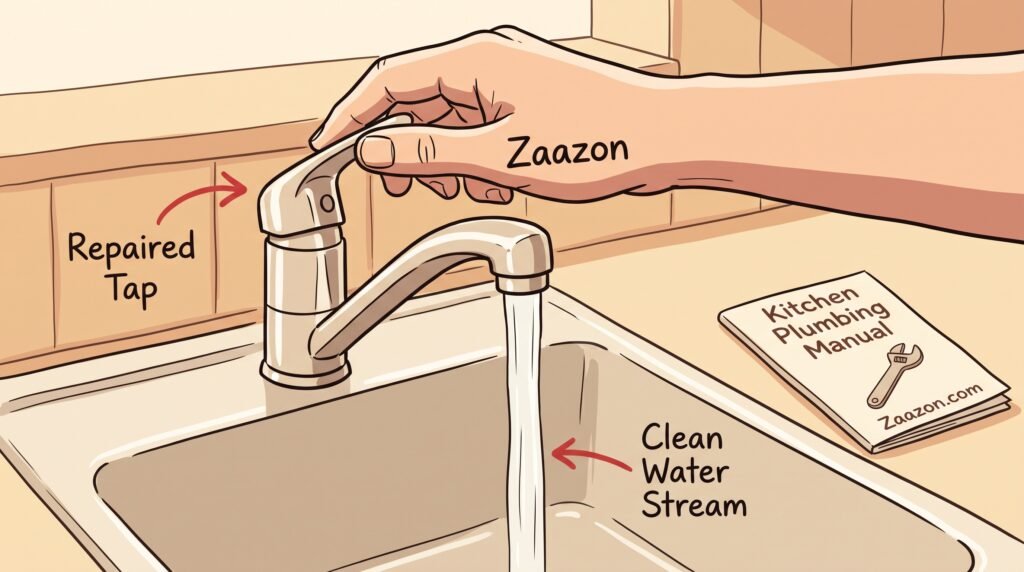
Remove the protective towel from your sink drain hole. Open the cabinet doors below and turn both water valve knobs counter-clockwise (to the left) slowly to let water fill the pipes. Lift your tap handle slowly and let water run through the spout for one minute. Turn the tap off and check the spout tip and handle base to confirm that all dripping has completely stopped.